
peed, power, adrenaline, freedom, the open road, and adventure. Capturing the spirit of motorcycle photography is all about being able to convey the thrilling aspects of riding a motorcycle. In this guide, we’ll be going over the essential elements of creating captivating motorcycle photography, why it’s important to have the right gear, how to scout the best locations, the best camera settings and compositions, and some simple tips for bringing everything together.
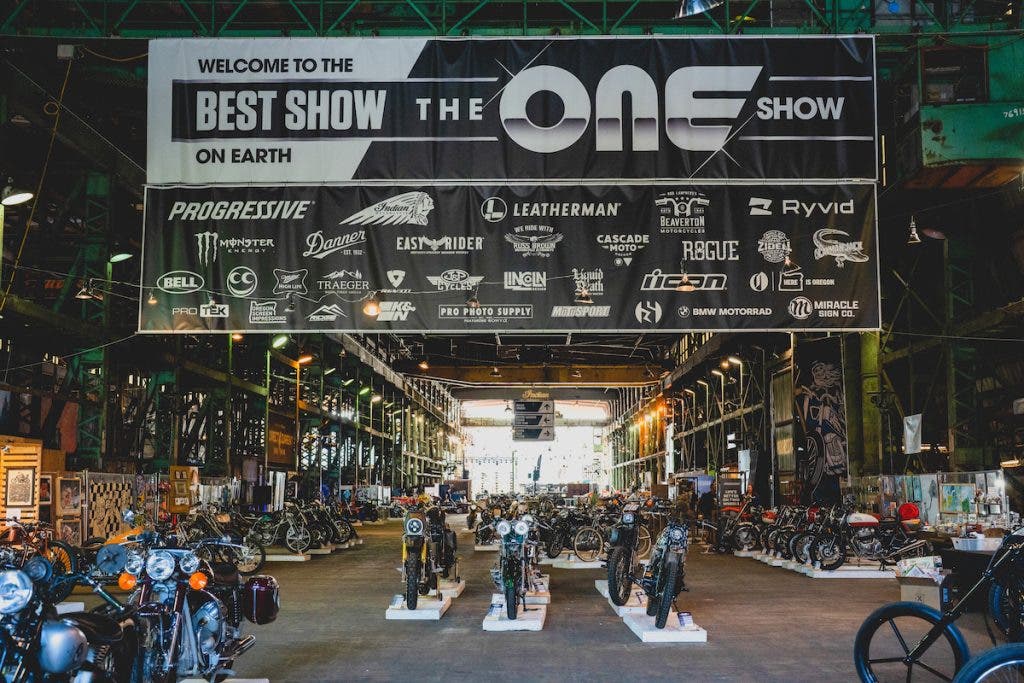
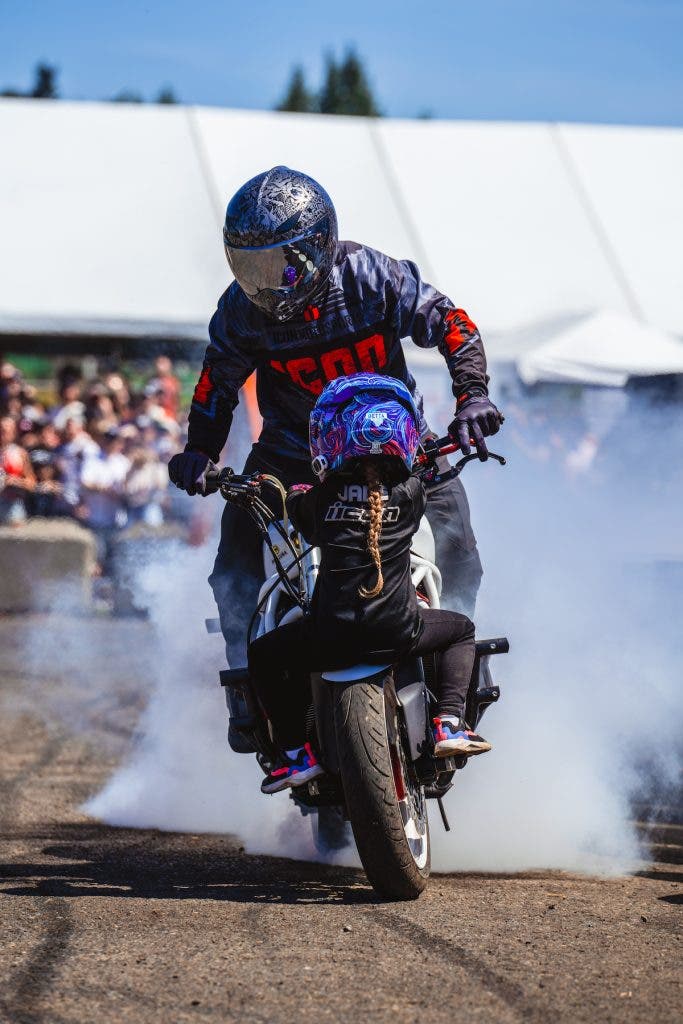
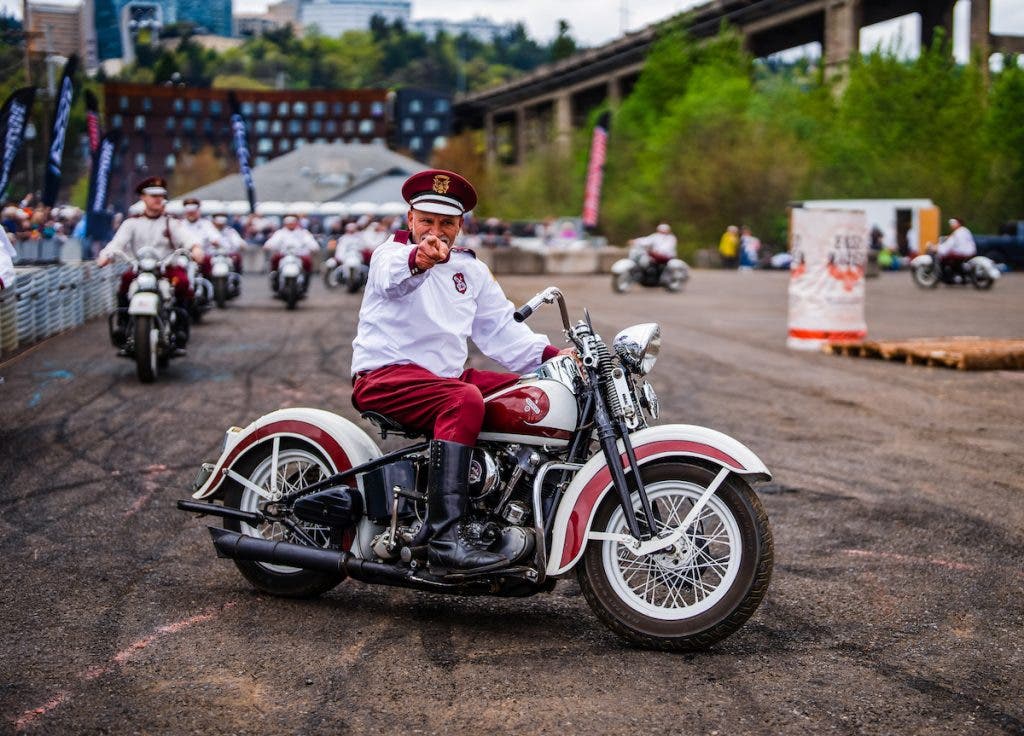
I personally had the opportunity to attend the acclaimed One Motorcycle Show in Portland Oregon recently, where I experienced the inspiring energy of the motorcycle community, the smell of burning rubber, and the thrill of seeing beautiful custom motorcycles performing at the highest levels.
What Lenses (and Other Gear) to Use
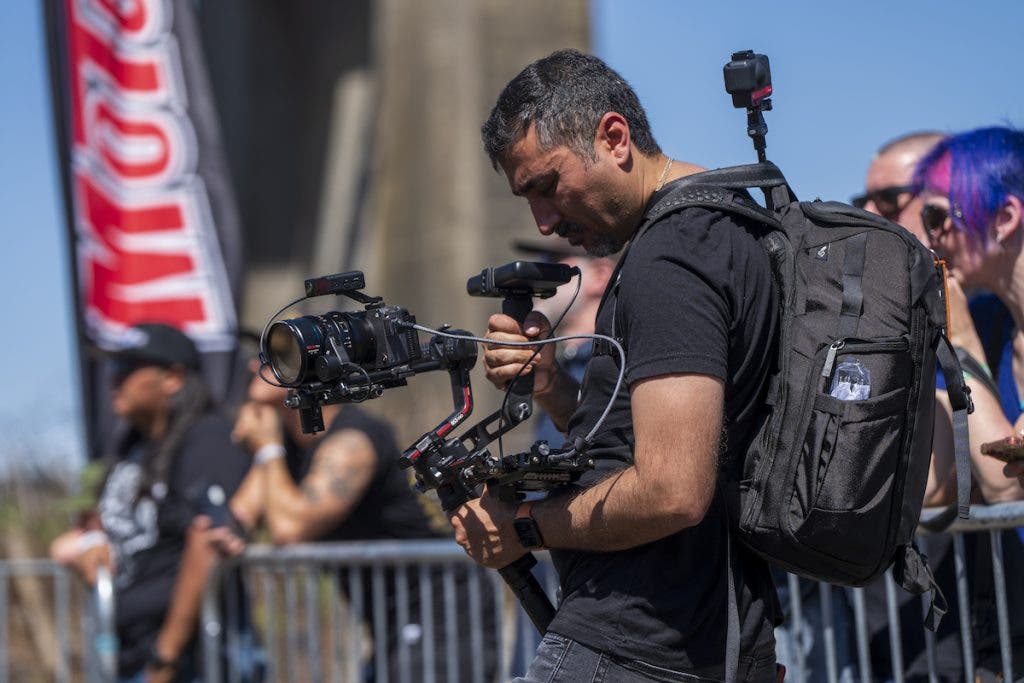
Given the fast-paced nature of motorcycle photography, I typically have a versatile list of gear that allows me to capture a wide range of images. My main camera body is the Sony Alpha 1 Mirrorless Camera. It allows me to freeze action at any moment with it’s amazing 30 FPS burst rate in stills. I can capture decisive moments with ease and, with 50 megapixels of resolution in each image, I have plenty of room to crop my images in post-production.
In order to get the fastest and most accurate autofocusing performance from my Sony A1, I always pair my camera up with Sony’s amazing lineup of high-performance G Master lenses. My gear bag usually consists of 2-3 zoom lenses, and a couple of prime lenses.
Zoom Lenses
The essential zoom lenses for my motorcycle photography shoots are the Sony 16-35mm f2.8 G Master, Sony 24-70mm f2.7 G Master Mark II, and Sony 70-200mm f2.8 G Master Mark II. These lenses not only offer maximum burst rates, but also have super fast and accurate focus motors and razor sharp optics that can resolve high-resolution sensors like my Sony A1.
Prime Lenses
In addition to the G Master zoom lenses that offer me the versatility of having multiple focal lengths in a single lens for fast-paced action, I also like to pack a few prime lenses for deliberate use cases. My prime lenses give me the ability to create beautiful images that isolate and accentuate elements of a motorcycle with shallow depth of field, the ability to gather more light in low-light situations, and cleaner and sharper images overall as a result of having wide apertures and ultra-sharp optics. The three main prime lenses that I use for motorcycle photography are the Sony 35mm f1.4 G Master, Sony 50mm f1.2 G Master, and Sony 135mm f1.8 G Master.
For motorcycle shoots where I’m planning to also capture video, I’ll typically pack my video gear and accessories, which include my DJI RS3 Pro Gimbal, Vanguard ALTA PRO 2V 263CVP Video Tripod, and a set of Tiffen Glimmer Glass and Black Pro Mist filters for cinematic diffusion.
Where to Shoot Motorcycles
It’s important to have your overall creative vision for motorcycle photography clearly defined prior to the planning and scouting of your locations. Careful consideration is important because your choice in locations is typically informed by your creative vision for the type of final image you want to create.
Outdoors
For example, if you want an image that shows a motorcycle in action, it’s pretty obvious that you’ll want to consider outdoor locations that will allow you to capture a motorcycle in motion. Having clearly defined goals for the creative vision of your final motorcycle images will make it easier for you to plan your locations according to the types of images that you’re wanting to create.
With that in mind, the two main settings that you can choose for capturing compelling motorcycle photography are outdoor environments, and studio, or indoor environments.
As we’ve already discussed, shooting in outdoor environments is ideal for capturing motorcycle photos that are all about movement and agility. It provides a number of opportunities for creating dynamic photos, including rolling shots that emphasize motion blur, and images that freeze action during high speed maneuvers like jumps, burnouts, etc.
Indoors
On the other hand, shooting in an indoor studio setting allows you to be deliberate about a number of factors, including lighting, composition, and even backdrops. This is ideal when you want to achieve a specific look based on how you light the scene or place the motorcycle. This is also helpful for lifestyle photos when you want to incorporate various products into the shoot that speak to a specific audience or demographic.
By being able to control the various inputs that go into creating your final images, you’ll be able to create motorcycle photos that are intentional and controlled. This allows you to tell detailed and specific stories that would be difficult to tell in a rapidly changing and uncontrolled outdoor environment. You are able to avoid any changes in lighting, weather, and other natural elements that are beyond your control.
Best Camera Settings
Choosing the best camera settings for motorcycle photography follows the same concept as choosing the best locations. The camera settings you choose are largely based on the types of final images that you want to create, your creative style, and environmental factors like lighting and movement.
Aperture
For example, if you’re looking to capture the details of a motorcycle, you’ll want to shoot with a wide aperture like f1.4. That setting will enable better subject isolation, render smoother bokeh, and result in cleaner images. This is thanks to the improved ISO performance from having the increased light gathering capabilities of wider apertures.
In contrast, if you want to include as much detail as possible in your photos, the obvious choice is to shoot with a narrow aperture like f8-f11. That setting will result in more of the motorcycle being in focus, but will also results in more noise in your image. This is due to the reduction in light gathering capability and the resulting higher ISO values from choosing a narrow aperture. These camera setting trade-offs tend to impact your creative process because you’ll need to consider them in advance and make deliberate decisions on the types of images that you want to capture.
Shutter Speed
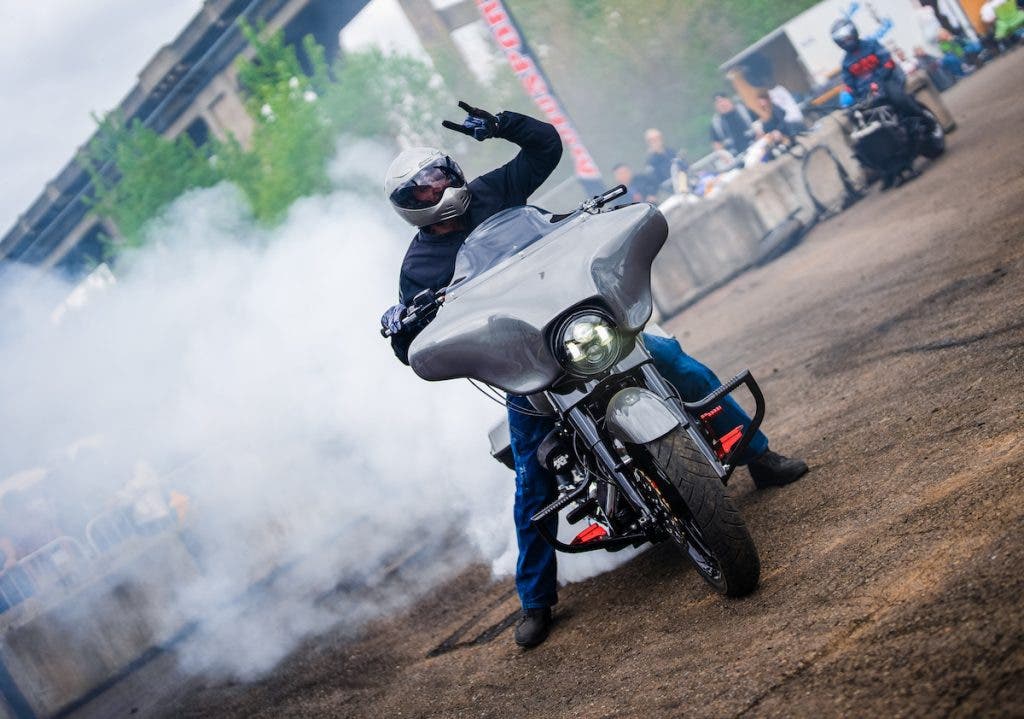
Your choice of shutter speed has a big impact on the type of motorcycle photos that you can create as well. For example, if you’re looking to convey the sense of speed and motion, you can choose a slower shutter speed like 1/60th or slower, and pan your camera in-stride with a passing motorcycle. That will result in what’s known as a “shutter drag” photo, which has a unique look that emphasizes motion blur, and gives the image a sense of speed and movement. See the top, featured image of this article for an example.
What Angles Work Best
When it comes to choosing the best angles to showcase your motorcycle photos, you’ll want to consider your composition within the context of the story that you’re looking to tell with your images. For example, if you’re looking to capture details on the rear seat of a motorcycle, you’ll likely be shooting from an overhead angle that clearly showcases the details on the seat.
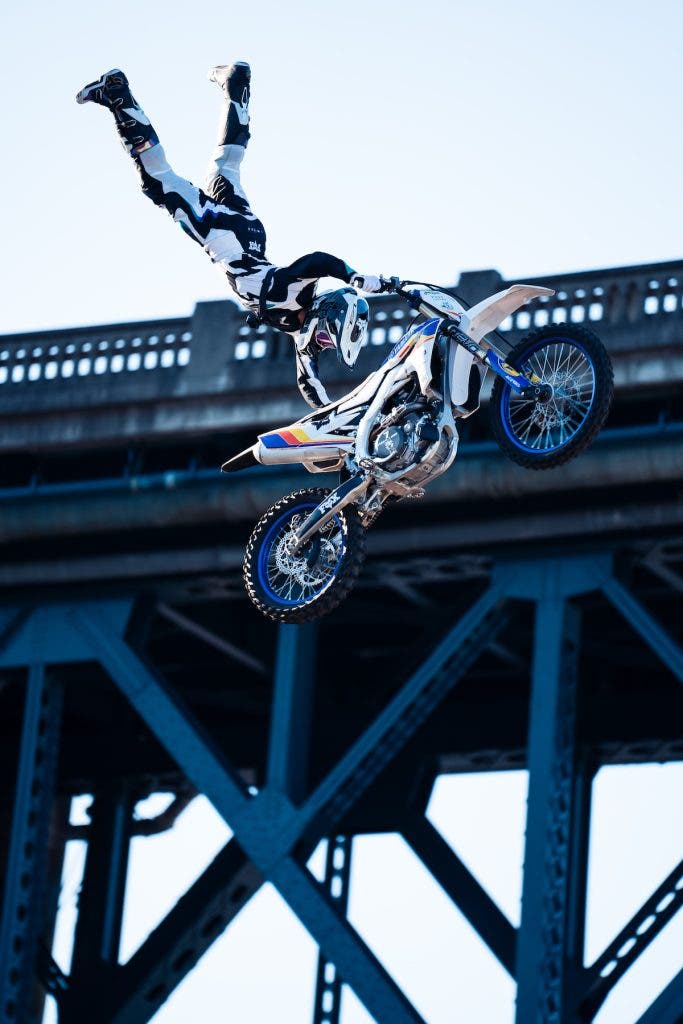
If you want to convey a sense of power and strength, you can shoot from a low angle, pointing back up and towards the motorcycle. This gives the motorcycle a larger appearance, accentuating it’s sense of size and power.
Shooting from eye-level is another great angle for motorcycle photography. It can create immersive and compelling images that make your audience feel as though they are in the rider’s seat, especially if you can capture the moment from the rider’s perspective.
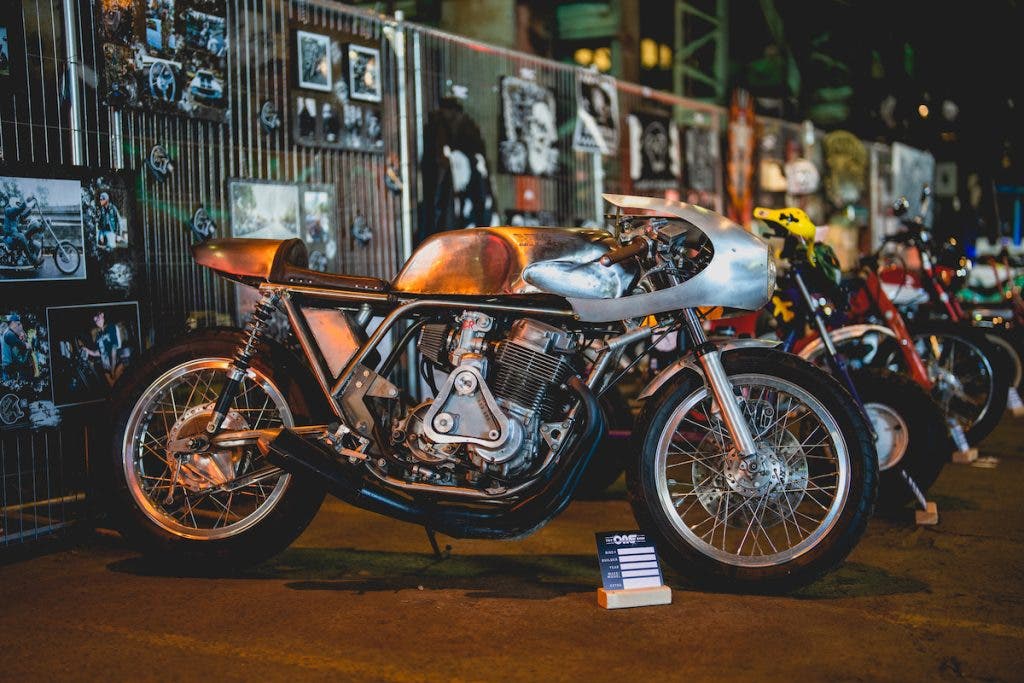
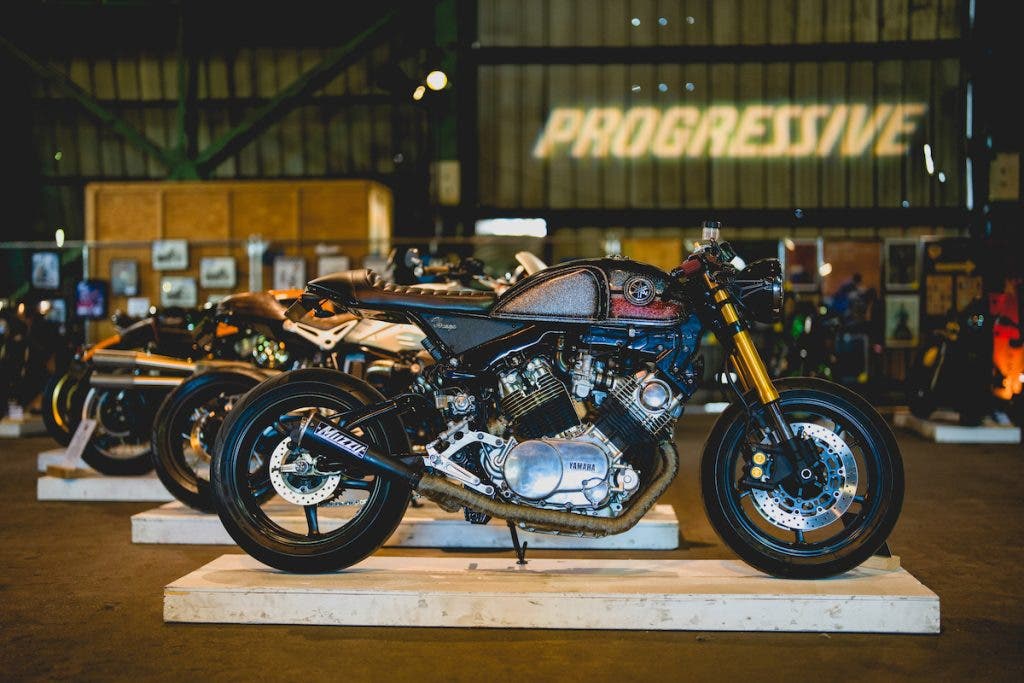
Another great angle for motorcycle photography is the side profile. This angle is great for capturing the overall shape and design of the motorcycle. By shooting the side profile with a wider focal length, you can get a better overall view of it’s curves, colors, materials, and other design elements that would otherwise be obscured with different angular composition.
Tips for Motorcycle Photography
If you’re just starting out with motorcycle photography, there are some helpful and simple tips you can follow to ensure that you’re successful in creating captivating images.
Familiarize Yourself
The most important thing you can do is to try and familiarize yourself with the intricacies of the motorcycle culture. The more you know about the different types of motorcycles and the communities of enthusiasts that enjoy riding them, the better you’ll understand the culture, and the better you’ll be able to create compelling images that engage those communities.

There are also many sub-cultures within the community of motorcycle enthusiasts. They include riders that enjoy motocross, building custom choppers, riding sport bikes, racing drag bikes, cruising Harley Davidson’s, and more. Each of these groups appreciates motorcycles in a completely different way, so the more you immerse yourself and understand their individual cultures, the better you’ll be able to capture the essence of their lifestyle, and ultimately garner their attention with your motorcycle photography.
Plan and Prepare
Another important tip is something that we’ve touched on several times throughout this guide, which is to ensure that you carefully plan and prepare for your motorcycle photography in advance. Start by deciding on the types of stories that you want to tell. Then, you can devise a plan that takes all of the most important elements of your images into consideration. Having a deliberate emphasis on organization and research will make it easier to choose the right settings and gear to tell compelling visual stories.
Stay Versatile
Finally, be sure to capture a mix of different types of images so you can tell a well-rounded story with your photography. Focus on shooting everything from close-up details, to wide-angle shots, to action shots, and shots with a rider on the motorcycle. Having a diverse set of different types of images will be more engaging, and further guide you towards what you enjoy photographing the most, whether that be the people, the products, or simply just the motorcycles themselves.
Conclusion
To create interesting and captivating motorcycle photography, try to focus on capturing images that include all of the elements that we’ve covered in this guide within your finished images. Look to tell the story of a captivating moment by conveying a sense of excitement through your choice of focal lengths, compositional angles, deliberate aperture and shutter speed choices, and combine all of those elements with a stylistic edit that brings it all together.
Don’t be afraid to experiment and find your creative style with motorcycle photography. Every image is an opportunity to captivate your audience. Try new angles, different camera settings, and various lenses until you find the perfect combination. All of these elements help capture the essence of the motorcycles and communities of riders that you’re photographing.


